.NET Core + Ocelot + IdentityServer4 + Consul 基础架构实现
(给DotNet加星标,提升.Net技能)
转自:Zhang_Xiang
cnblogs.com/Zhang-Xiang/p/10437488.html
先决条件
关于 Ocelot
针对使用 .NET 开发微服务架构或者面向服务架构提供一个统一访问系统的组件。
本文将使用 Ocelot 构建统一入口的 Gateway。
关于 IdentityServer4
IdentityServer4 是一个 OpenID Connect 和 OAuth 2.0 框架用于 ASP.NET Core 。IdentityServer4 在你的应用程序中集成了基于令牌认证、单点登录、API访问控制所需的所有协议和扩展点。
本文将使用 IdentityServer4 搭建独立认证服务器。
关于 Consul
Consul 是一个服务网格解决方案,通过服务发现、配置、功能分割提供一个全功能的控制层。这些功能可以单独使用,也可以同时使用以形成一个完整的网格服务。
本文将使用 Consul 注册多个服务。
关于 .NET Core
将使用 WebApi 构建多个服务
构建 IdentityServer 服务
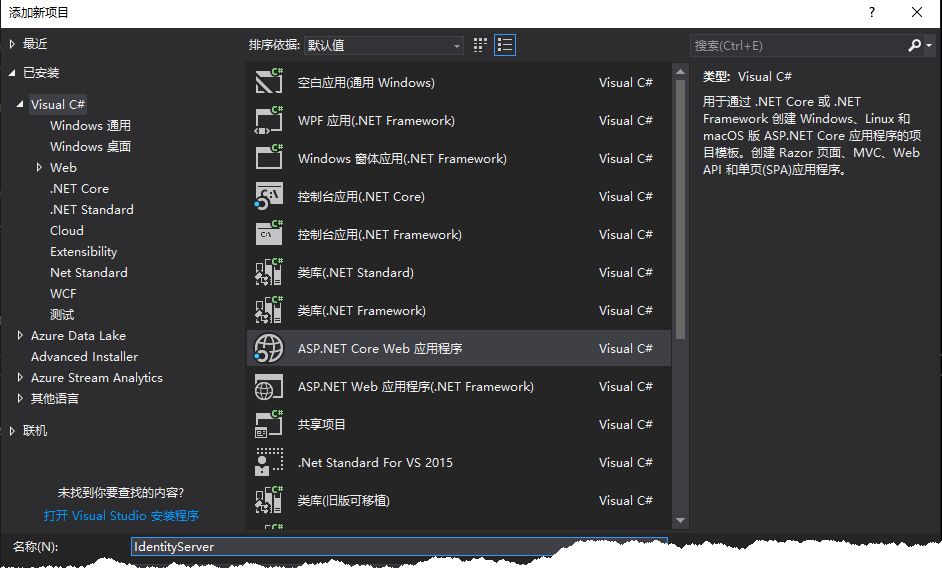
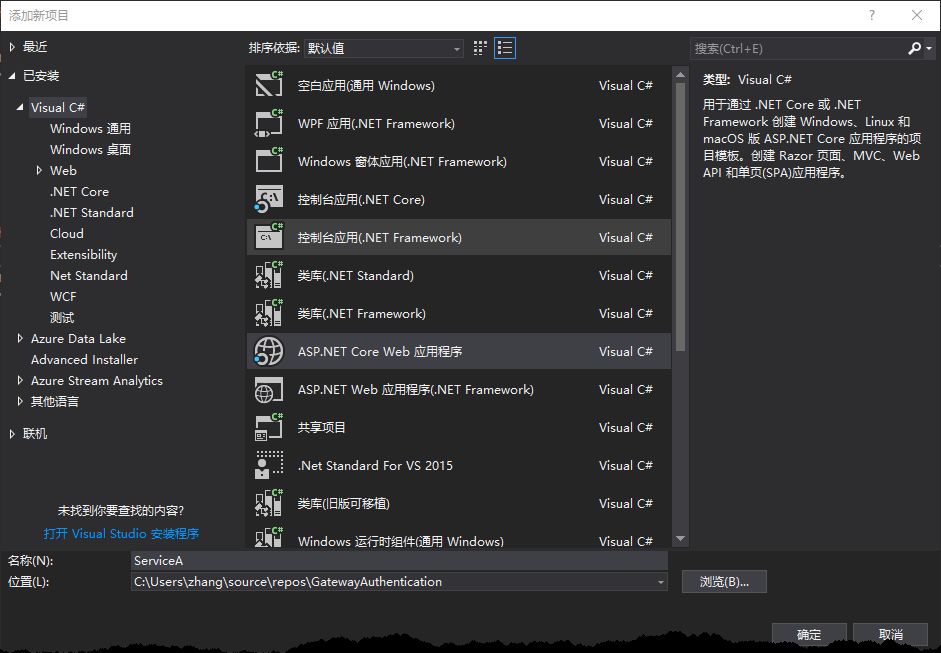
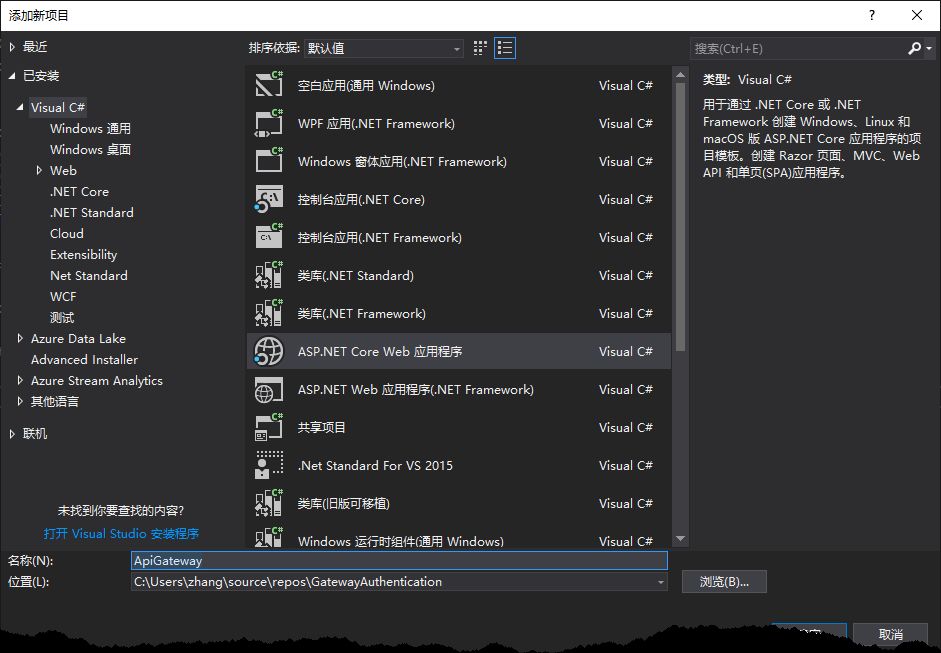
1、添加 ASP.NET Core Web 项目
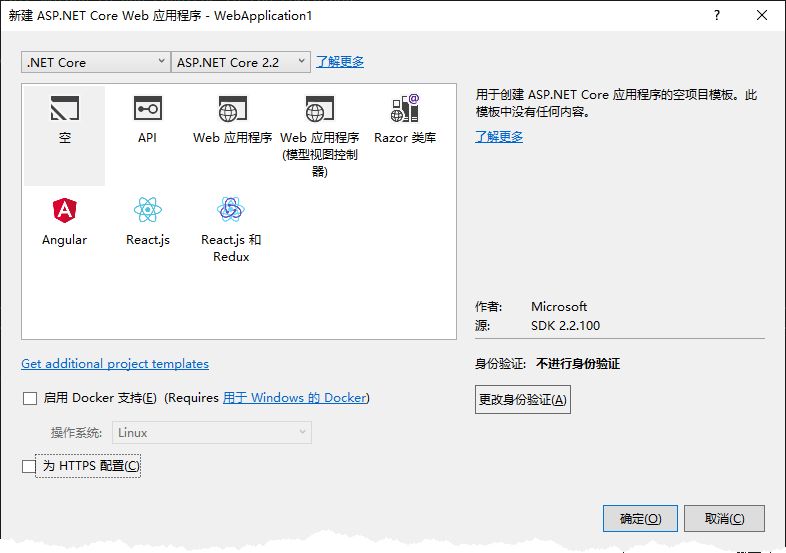
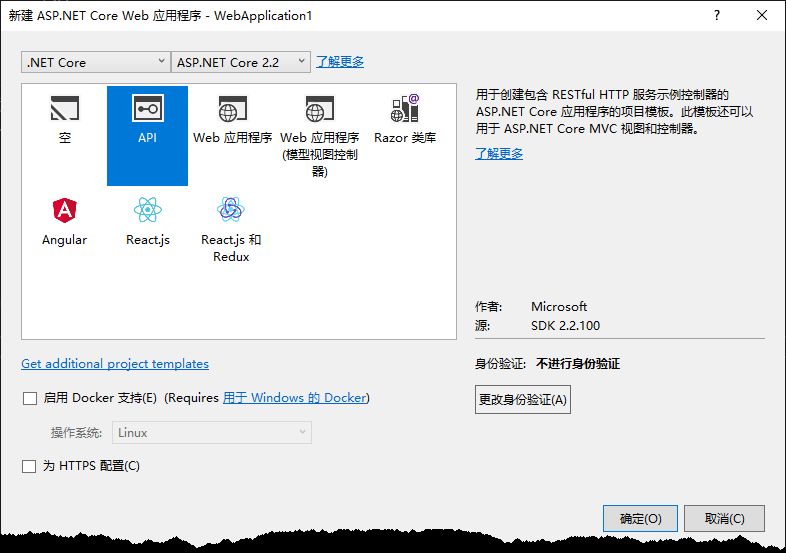
2、添加空项目
3、在程序包管理控制台中输入:Install-Package IdentityServer4.AspNetIdentity
4、添加 Config.cs 文件,并添加内容如下:
using System.Collections.Generic;using IdentityServer4.Models;using IdentityServer4.Test;namespace IdentityServer{public sealed class Config{public static IEnumerable<ApiResource> GetApiResources(){return new List<ApiResource>{new ApiResource("ServiceA", "ServiceA API"),new ApiResource("ServiceB", "ServiceB API")};}public static IEnumerable<Client> GetClients(){return new List<Client>{new Client{ClientId = "ServiceAClient",AllowedGrantTypes = GrantTypes.ResourceOwnerPassword,ClientSecrets ={new Secret("ServiceAClient".Sha256())},AllowedScopes = new List<string> {"ServiceA"},AccessTokenLifetime = 60 * 60 * 1},new Client{ClientId = "ServiceBClient",AllowedGrantTypes = GrantTypes.ResourceOwnerPassword,ClientSecrets ={new Secret("ServiceBClient".Sha256())},AllowedScopes = new List<string> {"ServiceB"},AccessTokenLifetime = 60 * 60 * 1}};}public static List<TestUser> GetUsers(){return new List<TestUser>{new TestUser{Username = "test",Password = "123456",SubjectId = "1"}};}public static IEnumerable<IdentityResource> GetIdentityResources(){return new List<IdentityResource>();}}}
注意:这里添加了两个 Client ,分别为 ServiceA、ServiceB ,因此接下来将构建这两个服务。
5、删掉StartUp.cs文件,在Program.cs中添加内容如下:
using Microsoft.AspNetCore;using Microsoft.AspNetCore.Builder;using Microsoft.AspNetCore.Hosting;using Microsoft.AspNetCore.Mvc;using Microsoft.Extensions.DependencyInjection;namespace IdentityServer{public class Program{public static void Main(string[] args){CreateWebHostBuilder(args).Build().Run();}public static IWebHostBuilder CreateWebHostBuilder(string[] args){return WebHost.CreateDefaultBuilder(args).ConfigureServices(services =>{services.AddMvc().SetCompatibilityVersion(CompatibilityVersion.Version_2_2);services.AddIdentityServer().AddDeveloperSigningCredential().AddInMemoryIdentityResources(Config.GetIdentityResources()).AddInMemoryApiResources(Config.GetApiResources()).AddInMemoryClients(Config.GetClients()).AddTestUsers(Config.GetUsers());}).Configure(app =>{app.UseIdentityServer();});}}}
注意:AddDeveloperSigningCredential() 方法用于添加开发时使用的 Key material ,生产环境中不要使用该方法。在 .NET Core 2.2 中新建的 Web 项目文件 csproj 中包含了如下内容:
csharp <PropertyGroup> <TargetFramework>netcoreapp2.2</TargetFramework> <AspNetCoreHostingModel>InProcess</AspNetCoreHostingModel> </PropertyGroup>
这里更改
csharp <AspNetCoreHostingModel>InProcess</AspNetCoreHostingModel>
为或直接删除该行,这么做的原因是当值为 InProcess 时,读写 tempkey.rsa 将产生权限问题。关于 AspNetCoreHostingModel 可参考 ASP.NET Core Module 。
csharp <AspNetCoreHostingModel>OutOfProcess</AspNetCoreHostingModel>
6、F5 启动该服务,显示如下:
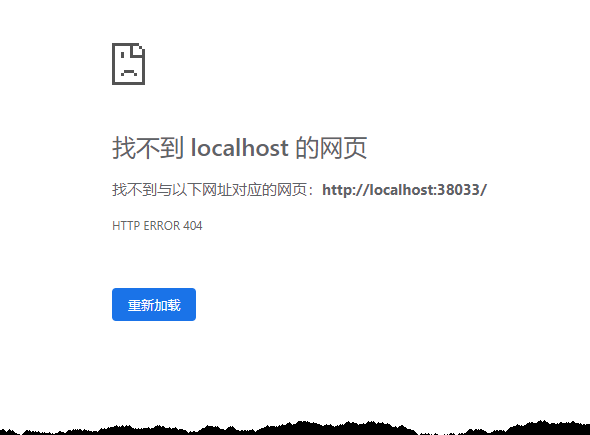
在浏览器中输入 http://localhost:38033/.well-known/openid-configuration ,得到以下内容
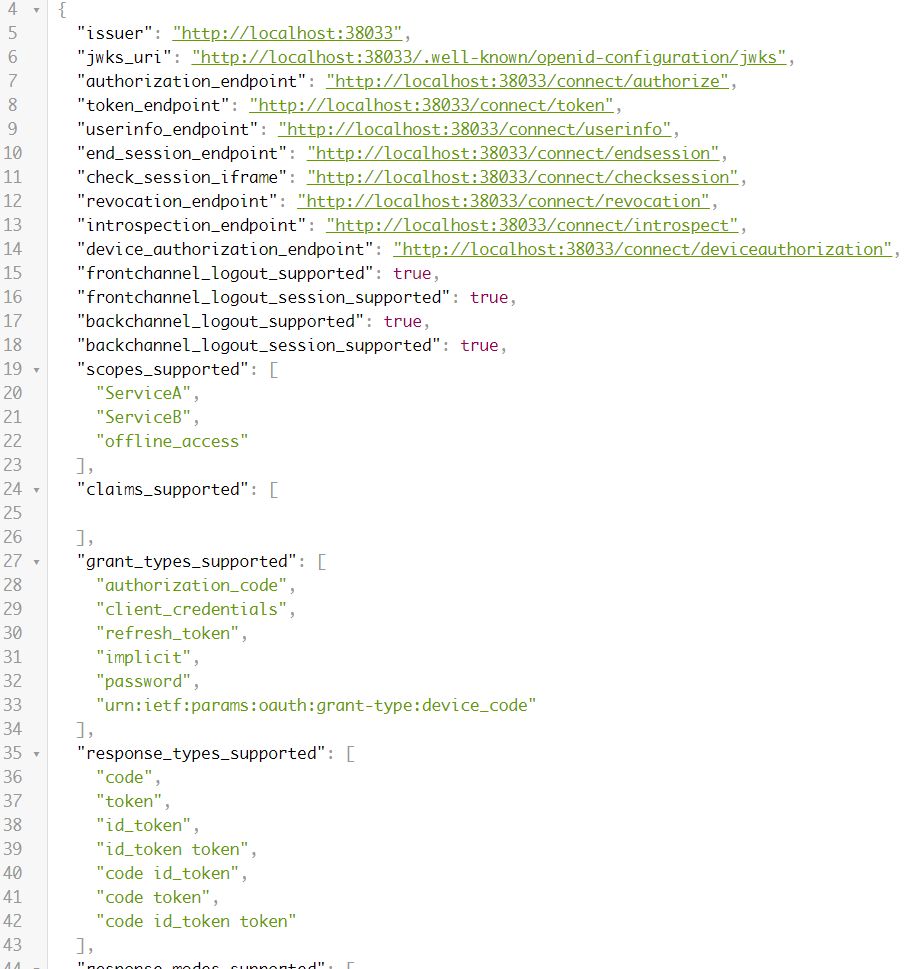
至此,一个包含两个服务认证的认证服务搭建完毕。
构建 ServiceA、ServiceB
1、添加 ASP.Net Core Web 项目,这里以 ServiceA 为例进行构建
2、添加 ASP.NET Core API
3、在程序包管理控制台中运行
Install-Package IdentityModel
4、在 StartUp.cs 中添加内容如下:
using Microsoft.AspNetCore.Builder;using Microsoft.AspNetCore.Hosting;using Microsoft.AspNetCore.Mvc;using Microsoft.Extensions.Configuration;using Microsoft.Extensions.DependencyInjection;namespace ServiceA{public class Startup{public Startup(IConfiguration configuration){Configuration = configuration;}public IConfiguration Configuration { get; }// This method gets called by the runtime. Use this method to add services to the container.public void ConfigureServices(IServiceCollection services){services.AddMvc().SetCompatibilityVersion(CompatibilityVersion.Version_2_2);services.AddAuthentication("Bearer").AddJwtBearer("Bearer", options =>{options.Authority = "http://127.0.0.1:8021";options.RequireHttpsMetadata = false;options.Audience = "ServiceA";});}// This method gets called by the runtime. Use this method to configure the HTTP request pipeline.public void Configure(IApplicationBuilder app, IHostingEnvironment env){if (env.IsDevelopment()){app.UseDeveloperExceptionPage();}app.UseAuthentication();app.UseMvc();}}}
5、加 SessionController 用于用户登录,内容如下:
using System.ComponentModel.DataAnnotations;using System.Net.Http;using System.Threading.Tasks;using IdentityModel.Client;using Microsoft.AspNetCore.Mvc;namespace ServiceA.Controllers{[][]public class SessionController : ControllerBase{public async Task<string> Login(UserRequestModel userRequestModel){// discover endpoints from metadatavar client = new HttpClient();DiscoveryResponse disco = await client.GetDiscoveryDocumentAsync("http://127.0.0.1:8021");if (disco.IsError){return "认证服务器未启动";}TokenResponse tokenResponse = await client.RequestPasswordTokenAsync(new PasswordTokenRequest{Address = disco.TokenEndpoint,ClientId = "ServiceAClient",ClientSecret = "ServiceAClient",UserName = userRequestModel.Name,Password = userRequestModel.Password});return tokenResponse.IsError ? tokenResponse.Error : tokenResponse.AccessToken;}}public class UserRequestModel{[]public string Name { get; set; }[]public string Password { get; set; }}}
6、添加 HealthController 用于 Consul 进行服务健康检查,内容如下:
using Microsoft.AspNetCore.Mvc;namespace ServiceA.Controllers{[]public class HealthController : ControllerBase{/// <summary>/// 健康检查/// </summary>/// <returns></returns>[]public IActionResult Get(){return Ok();}}}
7、更改 ValuesController.cs 内容如下:
using System.Collections.Generic;using Microsoft.AspNetCore.Authorization;using Microsoft.AspNetCore.Mvc;namespace ServiceA.Controllers{[] //添加 Authorize Attribute 以使该控制器启用认证[][]public class ValuesController : ControllerBase{// GET api/values[]public ActionResult<IEnumerable<string>> Get(){return new[] { "value1", "value2" };}}}
注意,以上基本完成了 ServiceA 的服务构建,但在实际应用中应做一些修改,例如:IdentityServer 地址应在 appsettings.json 中进行配置,不应把地址分散于项目中各处;认证服务启用最好在全局启用,以防止漏写等等。
ServiceB 的内容与 ServiceA 大致相似,因此文章中将不再展示 ServiceB 的构建过程。
Gateway 构建
1、添加ASP.NET Web
2、添加空项目

3、打开程序包管理器控制台输入命令:
csharp install-package Ocelot //添加 Ocelotcsharp install-package Ocelot.Provider.Consul// 添加 Consul 服务发现
4、添加 ocelot.json 文件,内容如下
{"ReRoutes": [{"DownstreamPathTemplate": "/api/{everything}","DownstreamScheme": "http","UpstreamPathTemplate": "/ServiceA/{everything}","UpstreamHttpMethod": [ "GET", "POST", "DELETE", "PUT" ],"ServiceName": "ServiceA", //consul 服务中 ServiceA 的名称"LoadBalancerOptions": {"Type": "LeastConnection"}},{"DownstreamPathTemplate": "/api/{everything}","DownstreamScheme": "http","UpstreamPathTemplate": "/ServiceB/{everything}","UpstreamHttpMethod": [ "GET", "POST", "DELETE", "PUT" ],"ServiceName": "ServiceB", //consul 服务中 ServiceB 的名称"LoadBalancerOptions": {"Type": "LeastConnection"}}],"GlobalConfiguration": {"ServiceDiscoveryProvider": { // Consul 服务发现配置"Host": "localhost", // Consul 地址"Port": 8500,"Type": "Consul"}}}
5、删除 StartUp.cs 文件,在 Program.cs 文件中添加如下内容
using System.IO;using Microsoft.AspNetCore.Hosting;using Microsoft.Extensions.Configuration;using Ocelot.DependencyInjection;using Ocelot.Middleware;using Ocelot.Provider.Consul;namespace ApiGateway{public class Program{public static void Main(string[] args){new WebHostBuilder().UseKestrel().UseContentRoot(Directory.GetCurrentDirectory()).ConfigureAppConfiguration((hostingContext, config) =>{config.SetBasePath(hostingContext.HostingEnvironment.ContentRootPath).AddJsonFile("appsettings.json", true, true).AddJsonFile($"appsettings.{hostingContext.HostingEnvironment.EnvironmentName}.json", true, true).AddJsonFile("ocelot.json").AddEnvironmentVariables();}).ConfigureServices(services =>{services.AddOcelot().AddConsul();}).ConfigureLogging((hostingContext, logging) =>{//add your logging}).UseIISIntegration().Configure(app =>{app.UseOcelot().Wait();}).Build().Run();}}}
注意:打开 Gateway.csproj 文件,更改
<PropertyGroup><TargetFramework>netcoreapp2.2</TargetFramework><AspNetCoreHostingModel>InProcess</AspNetCoreHostingModel></PropertyGroup>
为
<PropertyGroup><TargetFramework>netcoreapp2.2</TargetFramework><AspNetCoreHostingModel>OutOfProcess</AspNetCoreHostingModel></PropertyGroup>
至此,一个基础网关基本构建完成。
构建 Consul 服务
1、使用 Chocoletey 安装 Consul,
choco install consul2、新建一个文件夹以保存 Consul 服务配置

3、在 consul.d 文件夹中添加配置文件,内容如下:
{"services": [{"ID": "ServiceA","Name": "ServiceA","Tags": ["ServiceAWebApi", "Api"],"Address": "127.0.0.1","Port": 8010,"Check": {"HTTP": "http://127.0.0.1:8010/Api/health","Interval": "10s"}}, {"id": "ServiceB","name": "ServiceB","tags": ["ServiceBWebApi","Api"],"Address": "127.0.0.1","Port": 8011,"Check": [{"HTTP": "http://127.0.0.1:8011/Api/health","Interval": "10s"}]}]}
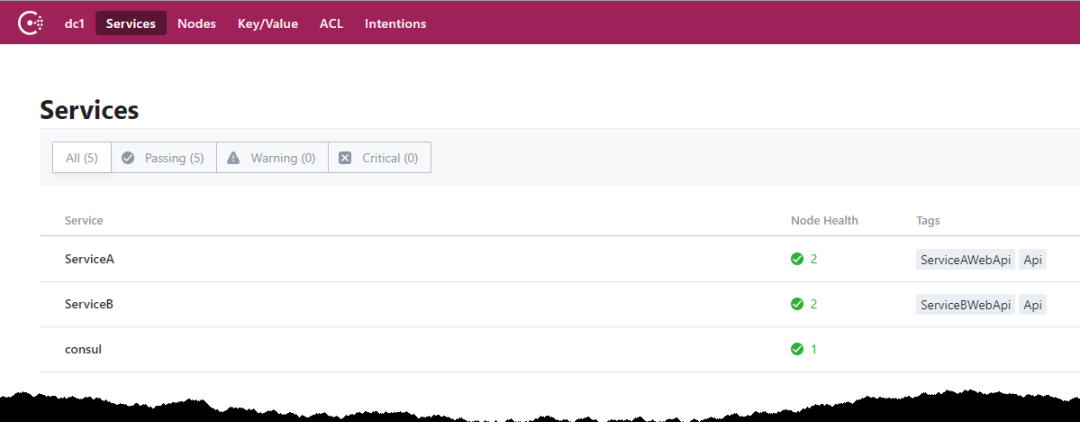
4、启动 consul 服务
consul agent -dev -config-dir=./consul.d启动后在浏览器中输入 http://localhost:8500/ui/ 以查看Consul服务
Postman 验证
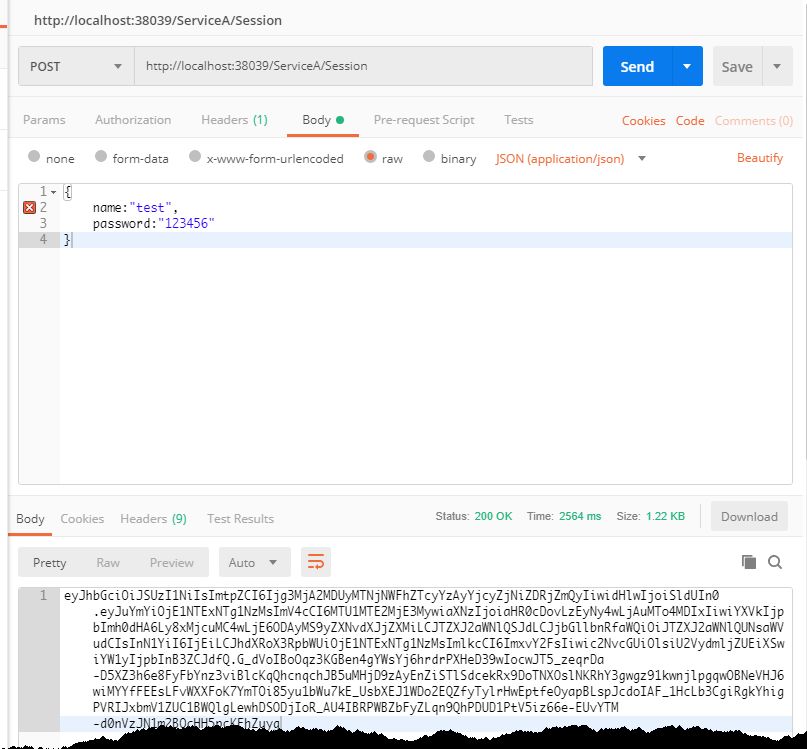
1、F5 启动 Gateway 项目,启动 Postman 发送请求到 ServiceA 获取 Token。
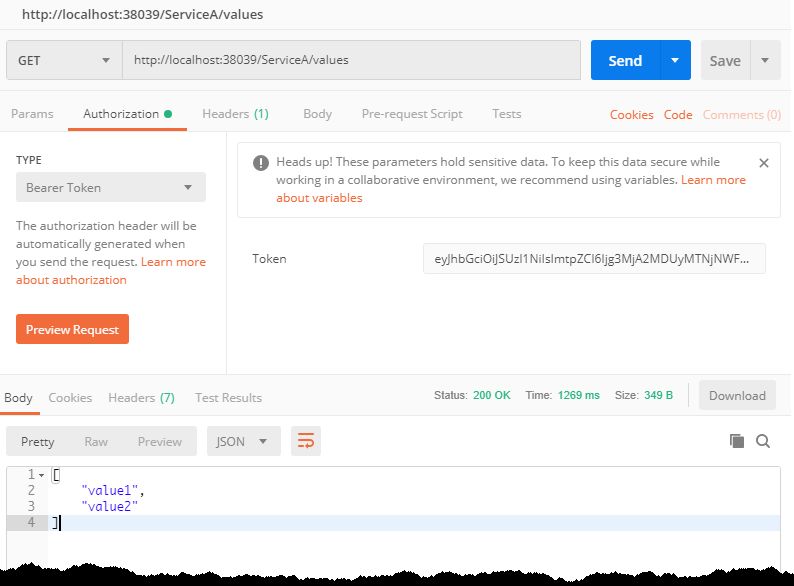
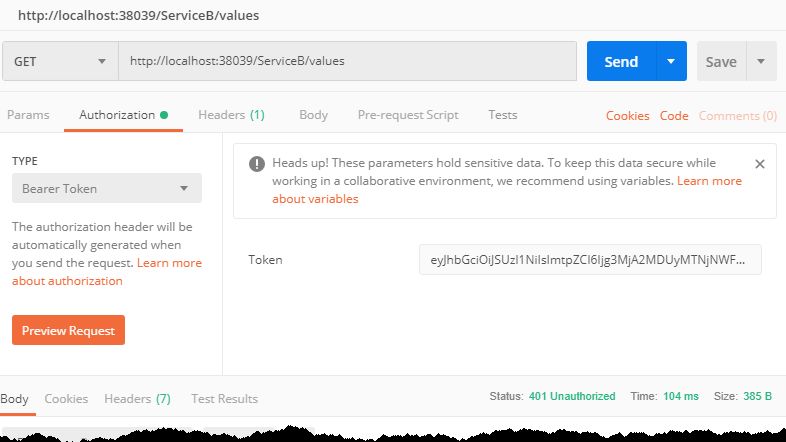
2、使用 Token 请求 ServiceA Values 接口
3、当尝试使用 ServiceA 获取到的 Token 去获取 ServiceB 的数据时,请求也如意料之中返回 401
总结
至此,一个由 .NET Core、IdentityServer4、Ocelot、Consul实现的基础架构搭建完毕。
源码地址:https://github.com/SoMeDay-Zhang/GatewayAuthentication
推荐阅读
(点击标题可跳转阅读)
看完本文有收获?请转发分享给更多人
关注「DotNet」加星标,提升.Net技能
好文章,我在看❤️